


Anniversary Blanket Part 11
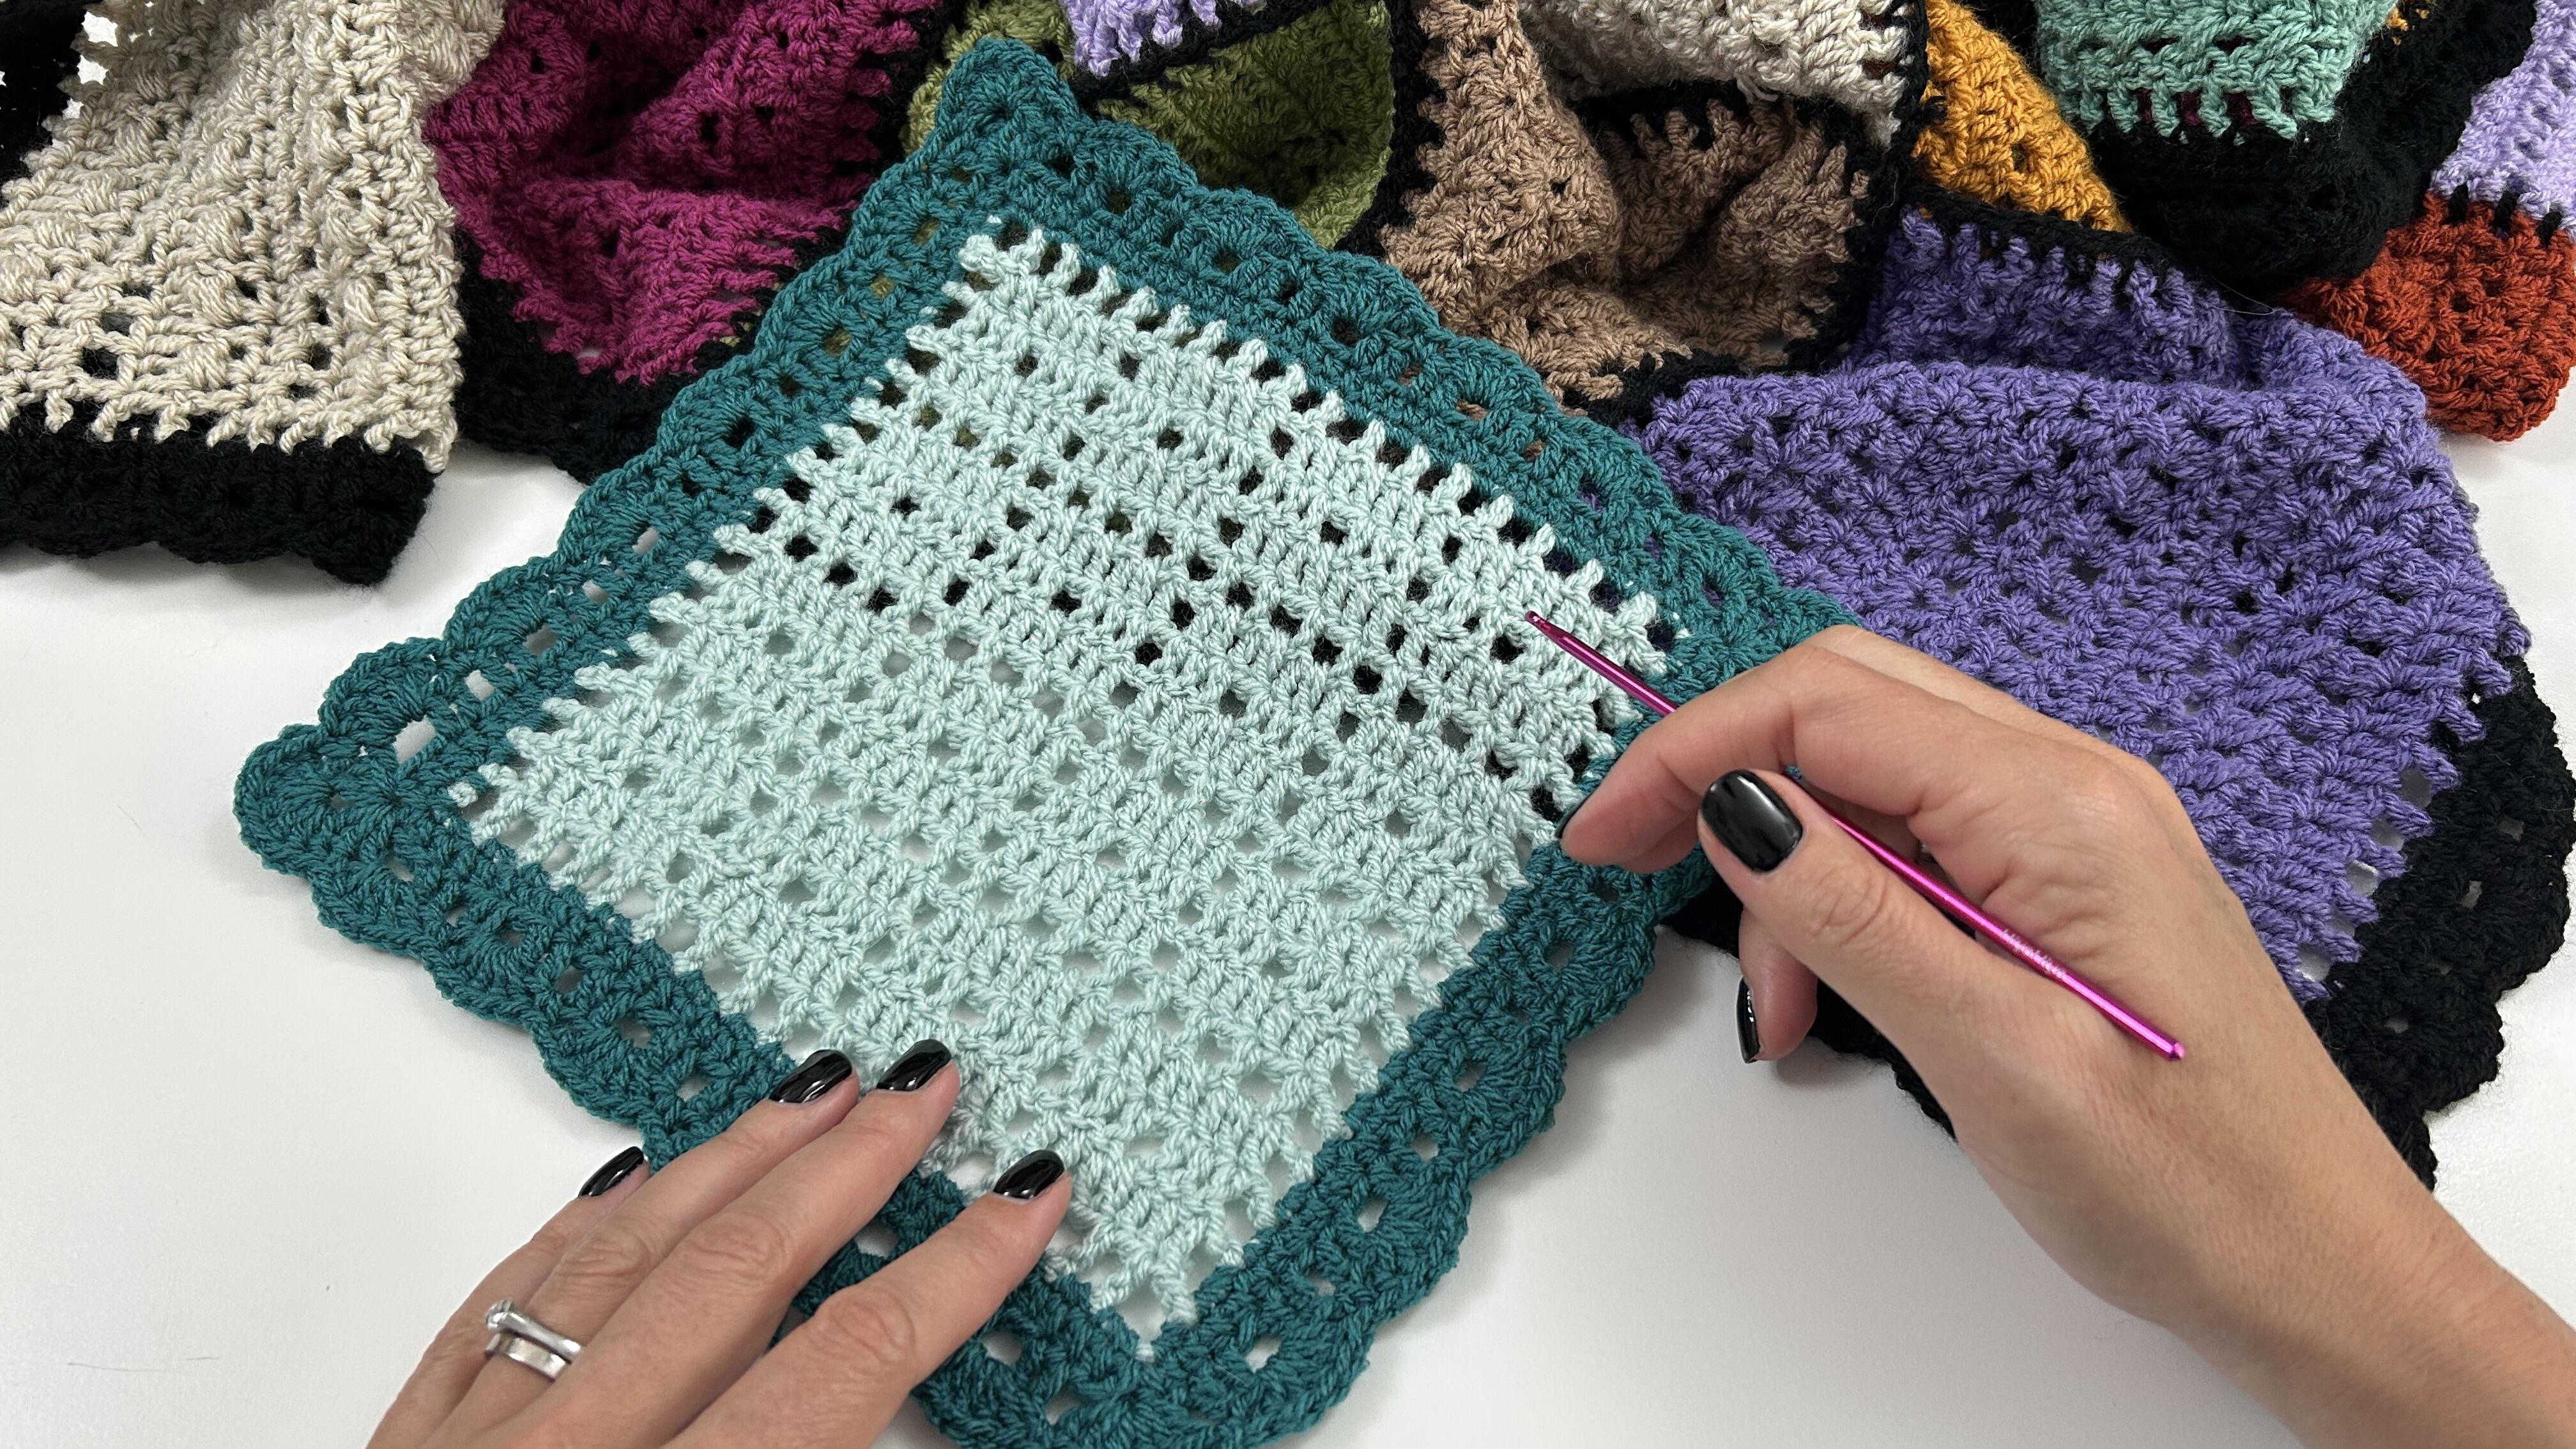
Part 11 Border
The border has a multiple of 3, but I have not worried about it as such because we can easily remedy things if need be. This could only be a problem in Round 3 and 4 but as I want to make sure you have the freedom to do less stitches should your border become wavy, we will be able to work out the multiple for each side should it be necessary by skipping an extra stitch if need be. I give you tips how to deal with this here and in the video.
Round 1
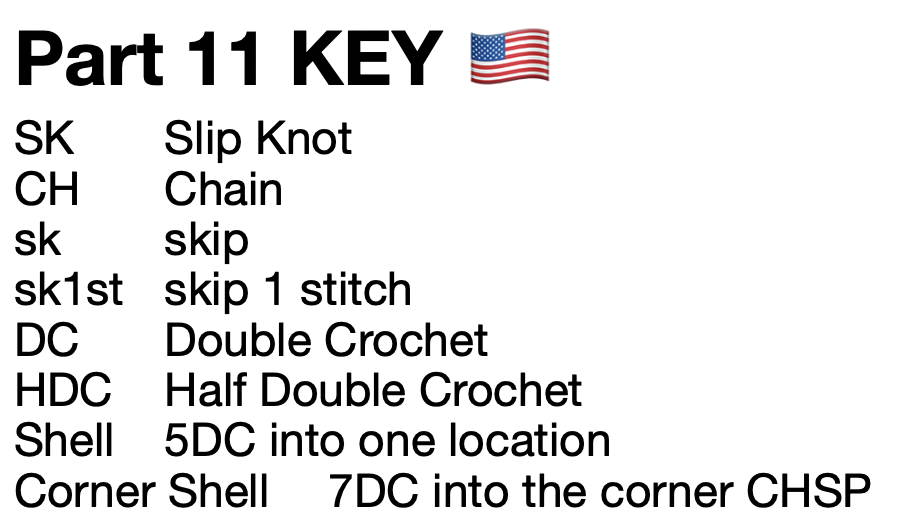
In black, SK, starting anywhere along a short side, and starting with a STSC, place 2SC into each box,
When you meet a corner you place 2SC, 1CH, 2SC
When you meet a join you skip it. (We do not want to make too many stitches to avoid our border going wavy so it is a good idea to skip here)
SS to close the round
Keep checking your border does not become wavy.
TIP Have you sewn in your ends from joining? Do it now!
Round 2
CH1, 1HDC on top of each SC,
When you meet a corner you place 1HDC, 1CH, 1HDC into the corner CHSP
SS to close the round
Keep checking your border does not become wavy
TIP Should your border become wavy, do a st less here and there
Have you sewn in your ends from joining? Do it now!
Round 3
CH1, *1DC in the first st, CH1, sk1st, 1DC in the next st*, repeat *-* to end of the side,
In the corner you place 3DC 1CH 3DC
Continue until you have made it all the way around
TIP Should this not work out, towards the end of the side near the corner, sk an extra st
Round 4
SS into the next CHSP, CH1, SC around that same CHSP, *then 5DCs into the next CHSP, SC into the next CHSP*, repeat *- * to the end of the side.
When you get to a corner, do a SC before the corner in the CHSP, then into the corner CHSP make a corner shell of 7DCs, then place a SC in the CHSP after the corner, then continue on with *-* .
SS to close the round, weave in all ends (from the joining and the border)!
TIP If it does not work out, place a SC onto the 2nd DC of the corner to anchor your shell and continue with placing the 7DCs into the corner CHSP, and place the SC onto the 2nd DC after the shell, and then continue on as normal. It worked out for me in two corners and I had to make amends in the other two!
Still make sure your border does not go wavy, keep your stitches tight! Sew in your ends from the border!
Happy Crocheting, Anja